How to install a general pressure gauge in a filtration system?
Leave a message
Hey there! As a supplier of general pressure gauges, I often get asked about how to install these gauges in a filtration system. It's a crucial process that ensures accurate pressure readings and the overall efficiency of your filtration setup. In this blog, I'll walk you through the step - by - step process of installing a general pressure gauge in a filtration system.
Why Install a Pressure Gauge in a Filtration System?
Before we dive into the installation process, let's quickly talk about why you need a pressure gauge in your filtration system. A pressure gauge helps you monitor the pressure within the system. In a filtration system, as the filter media traps contaminants, the pressure drop across the filter increases. By regularly checking the pressure gauge, you can determine when the filter needs to be replaced or cleaned. This not only helps maintain the performance of the filtration system but also prevents potential damage to other components due to excessive pressure.
Tools and Materials You'll Need
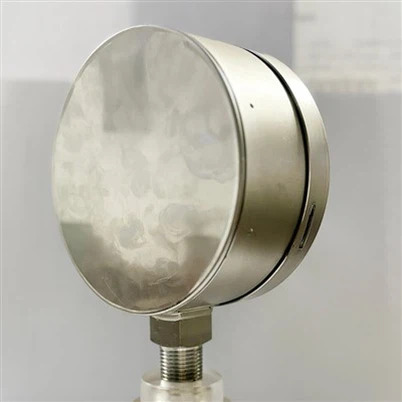
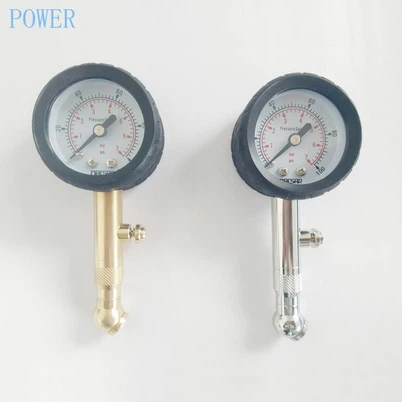
First things first, gather all the necessary tools and materials. You'll need a general pressure gauge (we offer a variety of options like the Back Connection Stainless Steel Case Pressure Gauge, Back Connection Black Steel Case Pressure Gauge, and Bottom Connection Plastic Case Pressure Gauge), a wrench (the size depends on the gauge and the connection type), Teflon tape, and a pressure tap or a fitting on the filtration system where you'll install the gauge.
Step 1: Choose the Right Location
The location of the pressure gauge is super important. You want to install it in a place where it can accurately measure the pressure of the fluid flowing through the filtration system. Typically, it's best to install the gauge close to the filter. This way, you can get a real - time reading of the pressure drop across the filter. Avoid installing the gauge in areas with excessive vibration or where it could be easily damaged.
Step 2: Prepare the Pressure Tap
If your filtration system doesn't already have a pressure tap, you'll need to create one. This might involve drilling a hole in the appropriate location and threading it to fit the gauge. Make sure to clean the area around the pressure tap thoroughly to remove any debris or metal shavings. If there's already a pressure tap, check it for any signs of damage or blockage.
Step 3: Apply Teflon Tape
Take the Teflon tape and wrap it around the threads of the pressure gauge in a clockwise direction. Wrapping it clockwise ensures that the tape won't unwind when you're screwing the gauge into the pressure tap. Wrap the tape around 3 - 5 times to create a good seal. This will prevent any leaks between the gauge and the pressure tap.
Step 4: Install the Pressure Gauge
Carefully screw the pressure gauge into the pressure tap. Use the wrench to tighten it, but be careful not to over - tighten. Over - tightening can damage the threads and cause leaks. A good rule of thumb is to tighten the gauge until it's snug, and then give it an extra 1/4 to 1/2 turn with the wrench.
Step 5: Check for Leaks
Once the gauge is installed, it's time to check for leaks. Turn on the filtration system and let the fluid start flowing. Keep an eye on the connection between the gauge and the pressure tap. If you see any signs of leakage, like drops of fluid or a hissing sound, turn off the system immediately. You may need to loosen the gauge slightly, add more Teflon tape, and then retighten it.
Step 6: Calibrate the Pressure Gauge
After ensuring there are no leaks, it's a good idea to calibrate the pressure gauge. Some gauges come pre - calibrated, but it's always a good practice to double - check. You can use a calibrated reference gauge to compare the readings. If there's a significant difference, you may need to adjust the gauge according to the manufacturer's instructions.
Step 7: Monitor the Pressure Gauge Regularly
Now that your pressure gauge is installed and calibrated, make sure to monitor it regularly. Keep a record of the pressure readings over time. This will help you identify any trends or sudden changes in pressure, which could indicate a problem with the filtration system, such as a clogged filter or a malfunctioning pump.
Tips for a Successful Installation
- Read the Manual: Always read the manufacturer's manual for both the pressure gauge and the filtration system. It will provide specific instructions and safety precautions.
- Use the Right Gauge: Make sure the pressure gauge you choose is suitable for the type of fluid, pressure range, and temperature in your filtration system.
- Inspect the Gauge: Before installation, inspect the pressure gauge for any visible damage or defects. If you notice anything wrong, contact your supplier (like us!) for a replacement.
Conclusion
Installing a general pressure gauge in a filtration system isn't that complicated if you follow the right steps. By choosing the right location, preparing the pressure tap, applying Teflon tape, and carefully installing and calibrating the gauge, you can ensure accurate pressure monitoring and the smooth operation of your filtration system.


If you're in the market for a high - quality general pressure gauge, we've got you covered. We offer a wide range of gauges to meet your specific needs. Whether you need a stainless - steel case for durability or a plastic case for cost - effectiveness, we have the perfect solution. Don't hesitate to contact us to discuss your requirements and start the procurement process. We're here to help you get the best pressure gauge for your filtration system.
References
- "Pressure Gauge Installation Guide" - General Industry Handbook
- "Filtration System Maintenance and Troubleshooting" - Filtration Industry Journal